Note: This guide focuses on localizing iOS native strings in Cordova apps and does not cover localization of HTML content.
When creating a Cordova iOS application, the default language and development region are set to English. However, there may be instances where you want to target another language or include localizations for multiple languages.
To change the default language or add additional localizations for iOS, you need to set the CFBundleLocalizations and CFBundleDevelopmentRegion Property List Keys.
In Cordova, these values can be set using the edit-config element in the config.xml file.
The following configuration sets the development region to English and includes both English and Japanese localizations:
<platform name="ios">
  <edit-config target="CFBundleDevelopmentRegion" file="*-Info.plist" mode="merge">
      <string>en-US</string>
  </edit-config>

  <edit-config target="CFBundleLocalizations" file="*-Info.plist" mode="merge">
      <array>
          <string>en</string>
          <string>ja</string>
      </array>
  </edit-config>
</platform>
It’s important to note that this configuration does not automatically translate strings. You will need to create localization string files for each language.
Let’s explore how localization works with an example.
Suppose we’ve installed the Cordova Camera plugin. As part of the plugin’s requirements, we need to include the following configurations in our config.xml file:
<!-- Configuration for Camera Plugin -->
<edit-config target="NSCameraUsageDescription" file="*-Info.plist" mode="merge">
    <string>need camera access to take pictures</string>
</edit-config>

<!-- Configuration for Photo Library Usage -->
<edit-config target="NSPhotoLibraryUsageDescription" file="*-Info.plist" mode="merge">
    <string>need photo library access to get pictures from there</string>
</edit-config>

<!-- Configuration for Location Usage -->
<edit-config target="NSLocationWhenInUseUsageDescription" file="*-Info.plist" mode="merge">
    <string>need location access to find things nearby</string>
</edit-config>

<!-- Configuration for Photo Library Add Usage -->
<edit-config target="NSPhotoLibraryAddUsageDescription" file="*-Info.plist" mode="merge">
    <string>need photo library access to save pictures there</string>
</edit-config>
These configurations should be added within the <platform name="ios"> block in the config.xml file.
In various use cases, one of these lines will be displayed. For example, when a user installs your app for the first time and attempts to use the camera, a permission dialog will appear with the content of NSCameraUsageDescription.
By default, Cordova’s iOS base template sets the language to English. This means that any strings we set in Info.plist should be in English unless we’ve explicitly changed the base language. Therefore, the XML configurations provided in this example, which will be added to config.xml, are in English.
Next, let’s create a Japanese localization string file where we’ll provide the Japanese translations for these strings.
In the Cordova project’s root directory, create a folder path resources/ios/locale, and within this directory, create a file named InfoPlist-ja.strings.
Add the following content to the InfoPlist-ja.strings file:
"NSCameraUsageDescription" = "写真撮影のためのアクセス";
"NSPhotoLibraryUsageDescription" = "写真を取得するためのフォト ライブラリへのアクセス。";
"NSLocationWhenInUseUsageDescription" = "ジオタグ付けのための位置情報へのアクセス。";
"NSPhotoLibraryAddUsageDescription" = "写真を保存するためのフォトライブラリへのアクセス";
Remember to replace this content with your preferred translations.
Now, let’s add a resource-file definition to the config.xml file to copy this localization file into the iOS project during preparation:
<resource-file src="resources/ios/locale/InfoPlist-ja.strings" target="ja.lproj/InfoPlist.strings" />
This resource-file definition should also be added within the <platform name="ios"> block in the config.xml file.
With these configurations in place, running cordova build, cordova prepare, or cordova run will update the iOS project. It will define the default development region as English, include English and Japanese localizations, and move the Japanese localization strings file to the appropriate directory in the project.
If the device is set to English or any other language for which localization files are not available, it will display the default English strings. If the device is set to Japanese, it will display the Japanese translations. Additionally, if a string is not localized but a localization file is present, it will still display the default language.
Localization Display Example:
| English | Japanese |
|---|---|
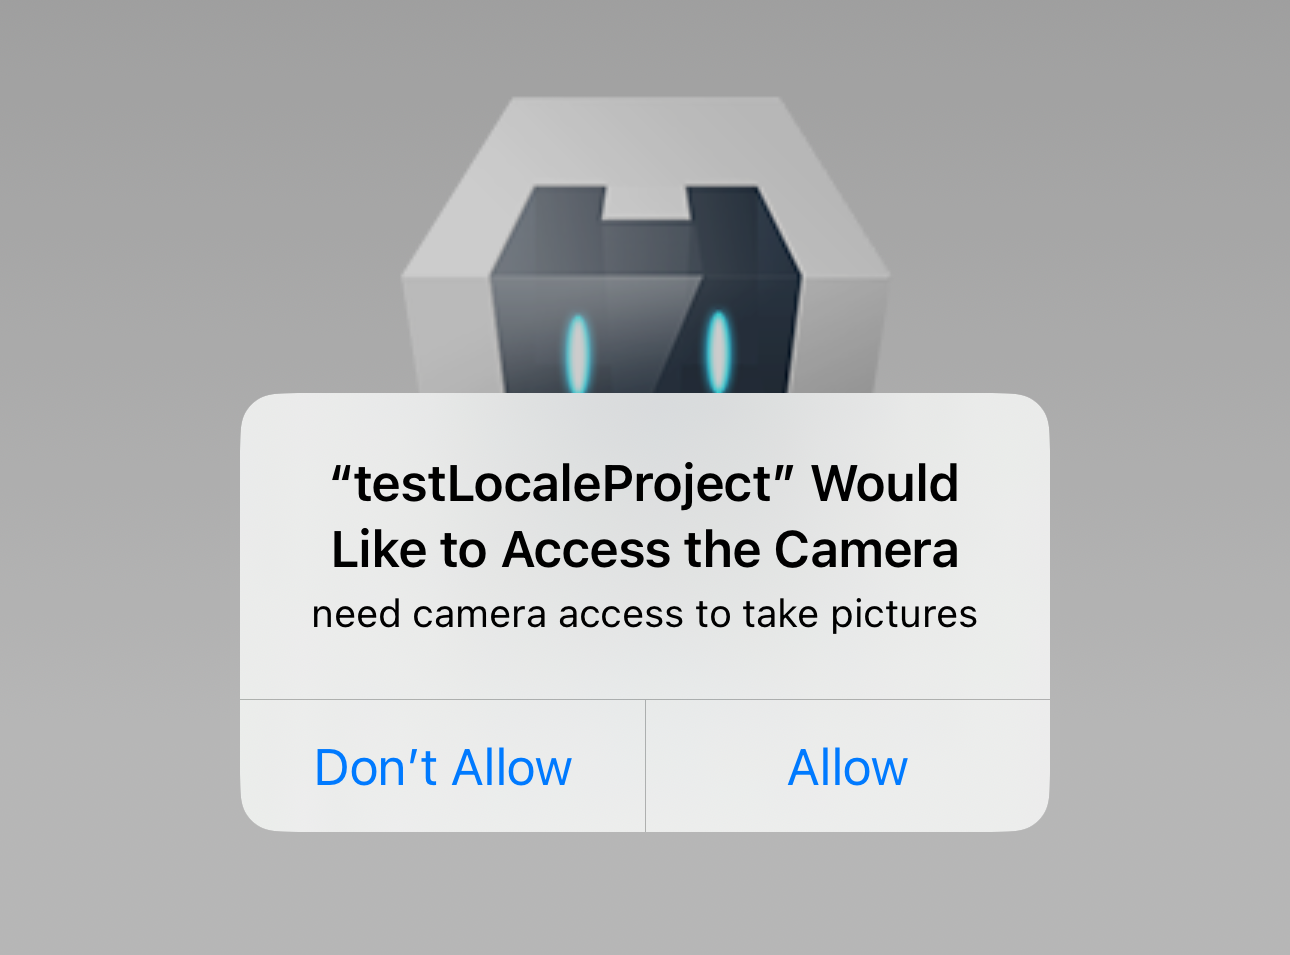
|
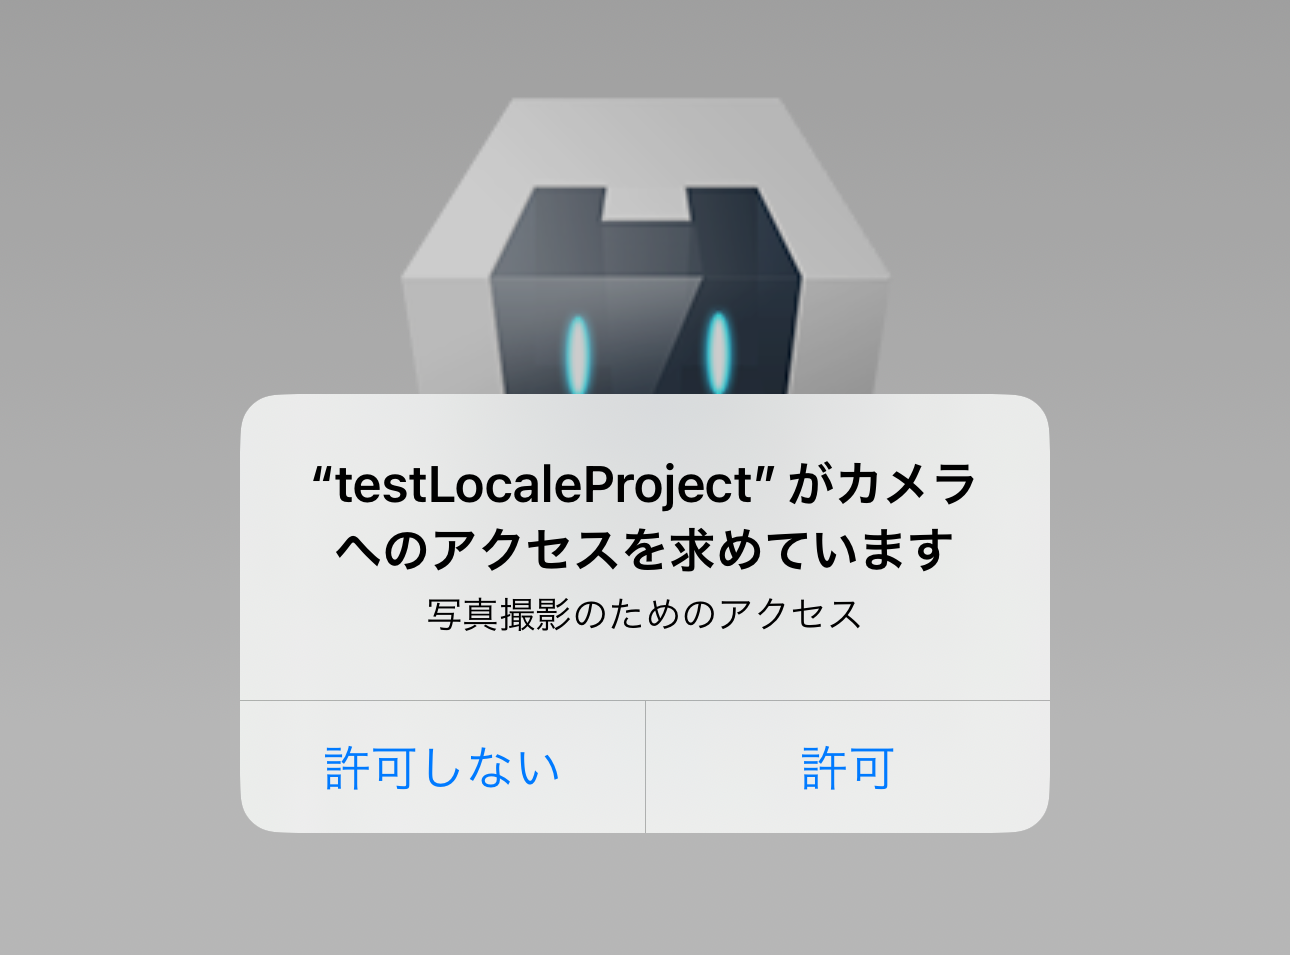
|
It’s important to note that this guide explains the configuration process but does not cover project creation or plugin addition steps.
I hope this post provides insight into how to start adding localization for iOS native strings in your Cordova apps.
Resources: